

Mastering Flour Fry Roux for Delicious Fried Foods
There is an ancient alchemy in the kitchen that transforms simple ingredients into culinary gold, and few techniques embody this transformation quite like the creation of a perfect flour fry roux. While many home cooks reach for pre-made batters or skip the thickening agent entirely to save time, those who truly understand the craft know that a well-executed roux is the secret weapon behind crispy, golden-brown exteriors and succulent, flavorful interiors. Whether you are deep-frying fillets, coating chicken wings, or preparing hushpuppies, mastering this foundational technique elevates every bite from merely edible to exceptional.
The Science of the Golden Base
At its core, a flour fry roux is a suspension of fat and flour that has been cooked together until the raw starch taste is gone and a nutty aroma develops. This process creates a stable matrix that adheres perfectly to food, ensuring an even crust without the heaviness often associated with traditional batters. The magic lies in the emulsion; when cold liquid is added to this hot paste, it instantly thickens, trapping air bubbles that contribute to a light, airy texture once fried.
The ratio of fat to flour is critical for success. A standard 1:2 ratio (one part fat to two parts flour) is often cited, but for frying applications where the roux acts as a coating base rather than a sauce thickener, a slightly thicker paste may be preferable to ensure it doesn’t slide off before hitting the hot oil. The type of fat chosen also dictates the flavor profile. Butter offers a rich, dairy-forward taste but burns easily at high temperatures, making it risky for deep frying. Lard provides a neutral, porky depth perfect for Southern-style fried foods, while vegetable oil or canola oil remains neutral and stable for longer cooking sessions.
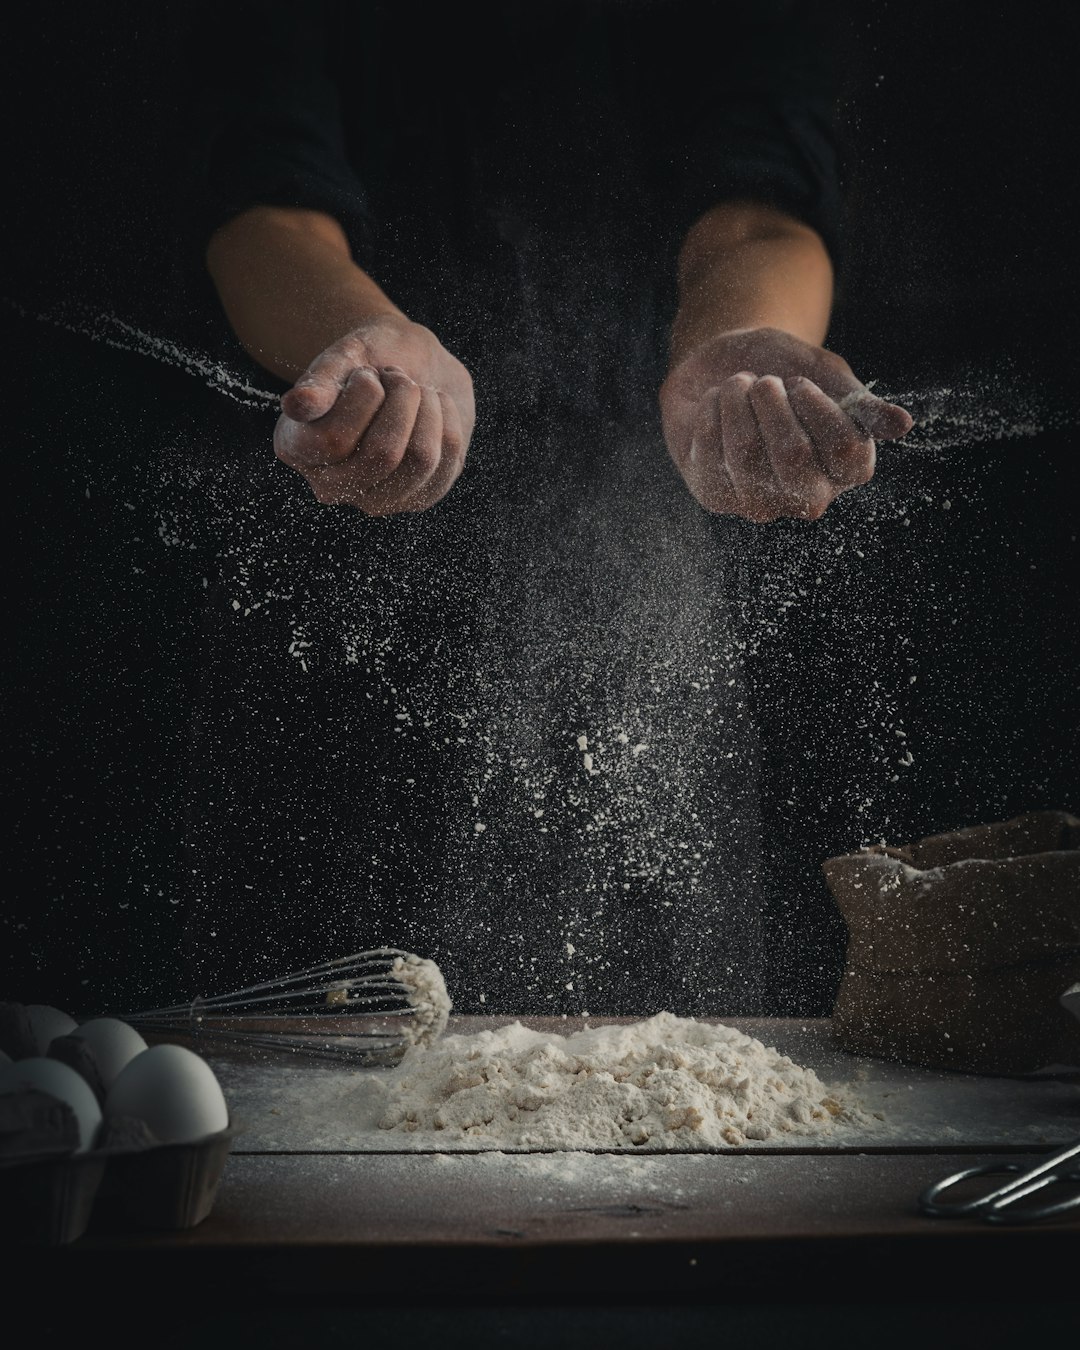
Ingredients and Preparation Method
To begin your journey toward perfect fried food, gather the following essentials. Precision here is key to avoiding lumps and ensuring a smooth application.
The Essentials
- Unsalted Butter: For rich flavor (use cautiously regarding heat).
- All-Purpose Flour: The standard choice for balance; do not substitute with gluten-free blends unless necessary, as the protein structure affects crispiness.
- Neutral Cooking Oil: Such as peanut oil or canola, preferred for high-heat stability.
- Salt and White Pepper: For seasoning the roux paste itself.
Step-by-Step Instructions
- Combine Fat and Flour: In a heavy-bottomed saucepan, melt your chosen fat over medium heat. Once melted, whisk in the flour until you form a thick, pasty consistency. This mixture will look dry and crumbly initially, which is normal.
- Cook the Roux: Continue to cook the paste, stirring constantly with a wooden spoon or heat-proof spatula. You are looking for the color to shift from pale white to a light golden tan. This usually takes about 5 to 7 minutes. The mixture should smell nutty and warm, not acrid.
- Season and Cool: Remove from heat and stir in your salt and pepper. Allow the roux to cool slightly until it is manageable but still warm. This step prevents shock when adding liquids later.
- Form the Batter (Optional): For a dip-and-fry method, gradually whisk in cold milk or buttermilk until you reach your desired consistency—neither too runny nor too thick. If frying directly with the roux paste, this step is skipped.
Cooking Tips for Crispiness and Flavor
The difference between a soggy disaster and a crispy triumph often comes down to execution details. First, always ensure your flour is fully cooked in the fat before adding liquid; skipping this step leaves a raw flour taste that ruins the dish. When frying, maintain a steady oil temperature between 350°F and 375°F (175°C–190°C). If the oil is too cool, the food absorbs grease; if too hot, the coating burns before the inside cooks.
Drying your ingredients thoroughly before dipping them into the flour fry roux mixture is non-negotiable. Moisture on the surface of the meat or vegetable will instantly steam the exterior, preventing that desirable crunch. For an extra layer of flavor, consider infusing your cooking oil with herbs or spices before frying, though be mindful not to burn delicate leaves.
Dietary Variations and Substitutions
Culinary creativity knows no bounds, and you can adapt this technique for various dietary needs. To make the roux gluten-free, substitute all-purpose flour with a high-quality 1:1 gluten-free blend like King Arthur or Bob’s Red Mill. Note that xanthan gum is often included in these blends to mimic the elasticity of wheat flour, which helps maintain the coating’s integrity in hot oil. For those avoiding dairy, swap the butter for an equal amount of light olive oil or melted coconut oil. While the flavor profile will shift slightly toward tropical or savory notes depending on the oil, the structural integrity of the crust remains intact.
Serving Suggestions and Pairings
A perfectly roux-coated dish deserves a worthy companion. A spicy remoulade sauce or a tangy tartar sauce cuts through the richness of the fried exterior beautifully. For sides, consider creamy coleslaw or a simple green salad with a sharp vinaigrette to balance the heaviness of the fried item. The visual appeal is also paramount; golden-brown hues against a plate of red cabbage slaw create a stunning contrast that makes the dish Instagram-worthy.
Tags
#recipe #cooking tips #food trends #buttermilk #fried food #deep fryer #kitchen hacks #culinary arts #gastronomy #home cooking #chef secrets #flour coating #batter recipes #southern cuisine #comfort food
By mastering the flour fry roux, you unlock a world of crispy, flavorful possibilities. Experiment with different fats, adjust your ratios to suit your specific equipment, and never fear venturing into new flavor combinations. The kitchen is your laboratory, and the results are worth the effort. Happy frying!