Discover why patience is the secret ingredient in sourdough baking. This guide explains how giving your starter and dough more time develops complex flavors, better structure, and that coveted open crumb without requiring special equipment.
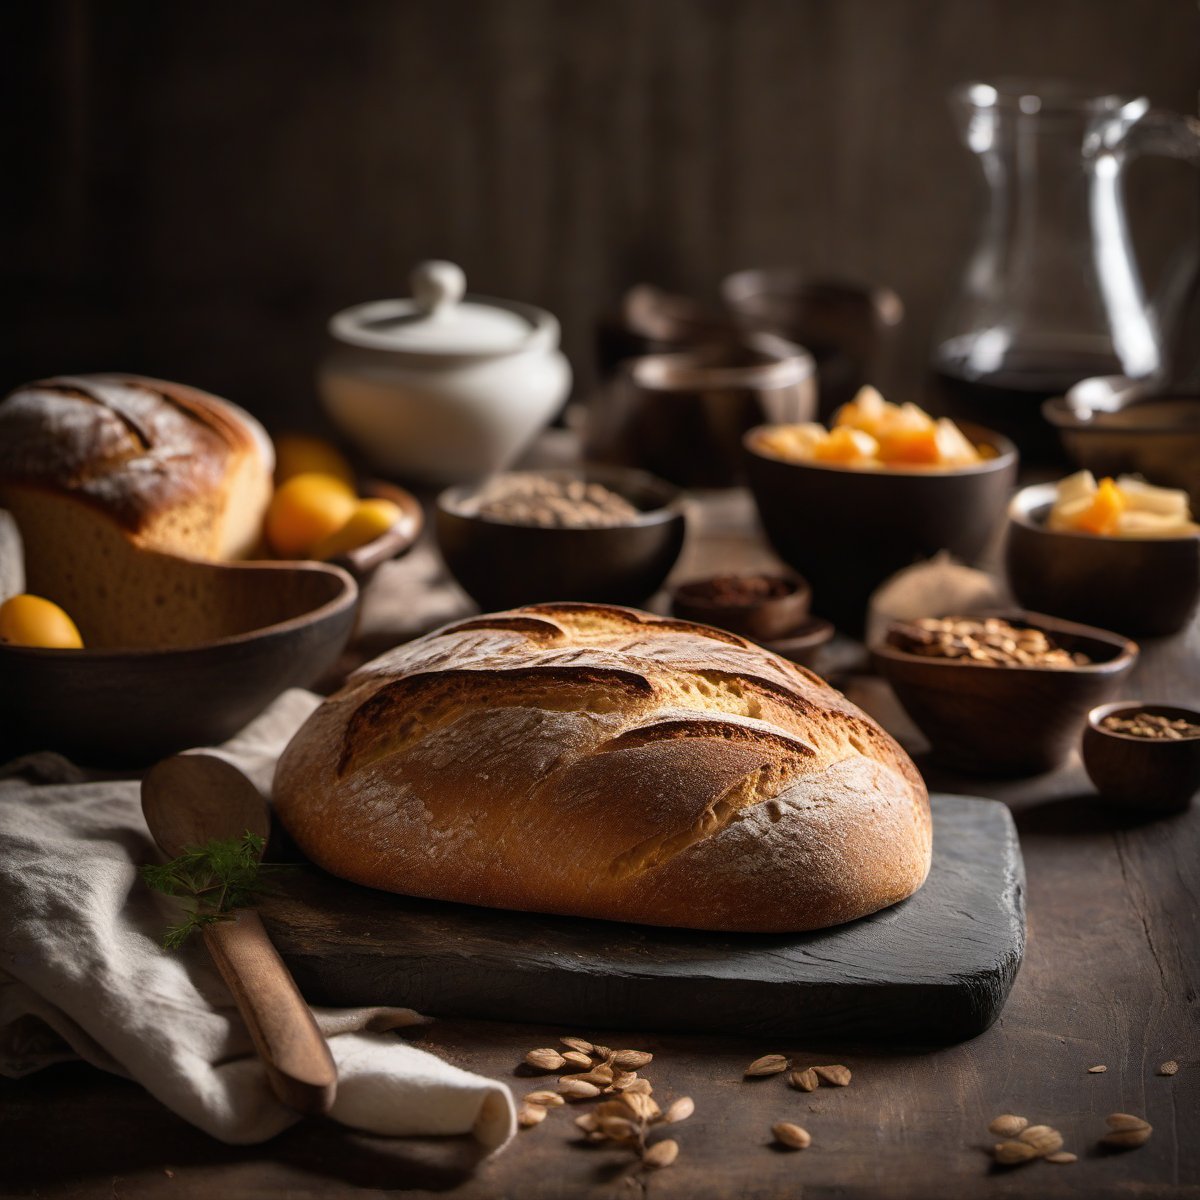
If you’ve ever stared at a jar of bubbly liquid on your counter wondering why it looks so lazy one day and explosive the next, you are not alone. I remember my early days with sourdough feeling like I was trying to tame a wild cat—unpredictable and occasionally scratchy. But after years of tweaking schedules and learning to read the dough rather than just watching the clock, I’ve found that the secret isn’t in complex calculations; it’s in patience.
This guide is my love letter to the slow rise. We aren’t making a quick bread here; we are building flavor, structure, and that coveted open crumb through time. When you give your sourdough starter time to truly wake up and feed properly before mixing, you unlock a depth of taste that no rushed recipe can replicate. Let’s take the stress out of the process and focus on what really matters: great bread.
Why This Recipe Works
- Reliable Hydration Balance: By using a 100% hydration starter that has been fed recently, we ensure the dough is manageable yet extensible. This balance prevents sticky disasters while allowing for strong oven spring.
- Flavor Development Through Time: Allowing the bulk fermentation to stretch out gives wild yeast and lactobacilli plenty of time to break down starches. The result? A complex, tangy flavor profile with a tender crumb.
- No Special Equipment Needed: You don’t need a stand mixer or professional proofing boxes. Just a bowl, your hands, and a quiet corner of your kitchen for the dough to rest.
Ingredients
Makes one 1-pound loaf
- 200g ripe, active sourdough starter (fed 4-6 hours prior)
- 500g bread flour (unbleached all-purpose works in a pinch)
- 350g warm water (around 78°F/25°C)
- 10g fine sea salt
Instructions
- Mix the Autolyse: In a large mixing bowl, combine the water and bread flour. Stir with your hand or a stiff spatula until no dry flour remains. The mixture will look shaggy and rough—that’s okay. Let this sit for 30 minutes to an hour while you prepare the rest of your kitchen.
- Add Starter and Salt: Add the ripe sourdough starter and salt to the dough. Wet your hands slightly to help incorporate everything. Pinch, fold, and press the dough against the side of the bowl until the starter is fully dissolved and evenly distributed. The dough should start to feel cohesive but still quite loose.
- Perform Stretch and Folds: Cover the bowl and let it rest for 30 minutes. After 30 minutes, reach into the center of the dough with wet fingers, pull a section up (stretch), and fold it over onto itself. Rotate the bowl and repeat this motion four times until you’ve done one full set around the bowl. Repeat this process every 30 minutes for two more sets (90 minutes total).
- Bulk Fermentation: After your final folds, cover the bowl loosely and let the dough rise at room temperature (68-72°F/20-22°C is ideal). This phase can take anywhere from 4 to 6 hours. You are looking for the dough to increase in volume by about 50-75%, with visible bubbles on the surface and a jiggly, gelatinous texture when you shake the bowl gently.
- Shape the Loaf: Turn the dough out onto a lightly floured counter. Gently shape it into a round or oval boule by tucking the edges under to create surface tension. Place the shaped dough seam-side up into a floured banneton (proofing basket) or a bowl lined with a floured towel.
- Cold Proof: Cover and place in the refrigerator for 12-16 hours (overnight). This slow fermentation is crucial for developing complex flavors and making the dough easier to score.
- Bake: Preheat your oven to 500°F (260°C) with a Dutch oven inside for at least 45 minutes. Carefully turn the cold dough onto parchment paper, score the top with a sharp knife or lame, and lower it into the hot Dutch oven. Cover with the lid and bake for 20 minutes. Remove the lid and bake for another 20-25 minutes until the crust is deeply browned.
- Cool Completely: This is the hardest part! Transfer the bread to a wire rack and let it cool completely before slicing, at least 2 hours. Cutting into warm bread will result in a gummy texture.
Pro Tips
- Read the Dough, Not the Clock: Every kitchen is different. If it’s cold in your house, bulk fermentation might take longer. Use visual cues—like the “jiggle test”—rather than strict timers to know when the dough is ready.
- Maintaining Your Starter: For best results, ensure your sourdough starter time between feedings is consistent. A fed starter peaks before it collapses; use it at its peak height for maximum leavening power.
- Storage: Store cooled bread in a paper bag or bread box for up to 3 days. For longer storage, slice and freeze the loaf; toast slices directly from frozen for fresh-baked taste.
Quick Reference
- Prep time: 30 minutes (plus 1 hour autolyse rest)
- Cook time: 45 minutes
- Total time: 2 days (including overnight cold proof)
- Servings: 8-10 slices
- Difficulty: Medium